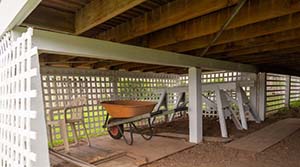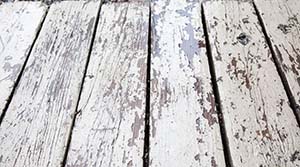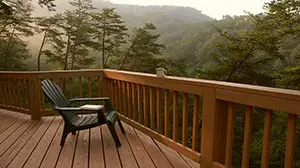
Decks are where family and friends come together to enjoy meals, parties, or sit around a fire. Due to the high foot traction and the constant exposure to weather, painted decks can fade, chip, and peel over time.
Removing old peeling paint must be done correctly to promote good adhesion between the new coat of paint and the deck.
You can remove peeling deck paint by the following:
- Applying a paint stripper
- Utilizing a paint scraper
- Pressure washing
- Sanding
Identifying the best method can be done by analyzing the deck’s condition, size, and tools you need for each process.
Tackling home maintenance can be grueling, especially those that entail manual labor and tedious preparation to get started. Read on further to get one step closer to updating and, once again, enjoying the center stage of backyard lounging.
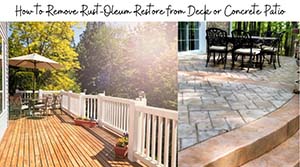
How to Remove Peeling Paint on a Deck Before Painting
Below are four ways to remove peeling paint off of your deck.
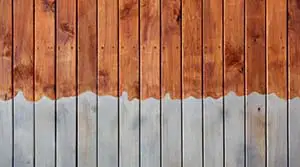
1. Paint Stripper
What is a Paint Stripper?
Paint stripper can come as a liquid, gel, or paste and separate or soften paints and varnishes from many surfaces.
They excel compared to other removal methods for curved or detailed surfaces since they perform chemical breakdown rather than physical removal with tools that can damage the deck surface.
Paint stripping can be utilized alone or initially to kick start and supplement another form of paint removal. There are two types of paint strippers:
- Solvent-based
- Caustic-based
Solvent-based Paint Stripper
Solvent-based paint strippers consist of methylene chloride or dibasic esters (dimethyl adipate/dimethyl glutarate). They will cause the paint to blister, deteriorating the color and surface adhesion bond.
Although solvent-based is more expensive and slightly messy, it leaves the surface clean without enduring any damage.
Caustic-based Paint Stripper
The caustic-based paint stripper is made up of a mixture of sodium hydroxide and works by breaking down the chemicals within the paint itself. We recommend it for thick layers of paint or detailed woodwork. However, it can burn and discolor the original surface.
The best-rated paint strippers in the market for wood projects are liquid form solvent-based paint strippers.
How is Paint Stripper Applied?
First and foremost, paint strippers are a very hazardous material. It is highly flammable, can damage eyes and skin, and should not be inhaled.
Safety First
You should wear safety glasses, goggles, and gloves during the application, and the area should be well-ventilated—thankfully, decks are outside.
Check the Weather
When applying a liquid, solvent-based paint stripper to a large outdoor deck, check the weather. Make sure rain is not underway, or else it will neutralize the solvent, and it will not perform as it should.
If it is a sunny day, either provide artificial shade or work in smaller sections as direct sunlight will dry the agent faster than penetrating and breaking down the paint.
Start Applying the Paint Stripper
Apply the agent with a solvent-resistant roller for larger areas, typically polyester-based. For smaller sizes, use an inexpensive paintbrush that is also polyester-based.
The manufacturer will provide an instruction guide that dictates the product’s appropriate time to sit and seep into the surface.
The product should not dry during this process, so keep an eye on it. Once the timer is up, test a small section by using a plastic or metal putty knife to scrape away at the surface.
Repeat the Process if Necessary
If it did not penetrate all the desired layers, let the solvent sit slightly longer, although in some cases, you may need to repeat the stripping process.
After you scrape the entire working section, use a hose to spray down the excess material and use a damp rag soaked in a water/vinegar mixture to clean away the solvent thoroughly.
Let the surface dry and give the area a light sanding to remove any leftover particles of the solvent. Wipe down with a damp rag once more and let dry.
Pro tip: Applying saran wrap or any other plastic material to the surface will keep the paint stripper wet for several hours to allow for further penetration of the surface.
Paint stripping is the chemical approach to removing old peeling paint. Although there is still some manual labor, this method allows chemistry to absorb most elbow grease.

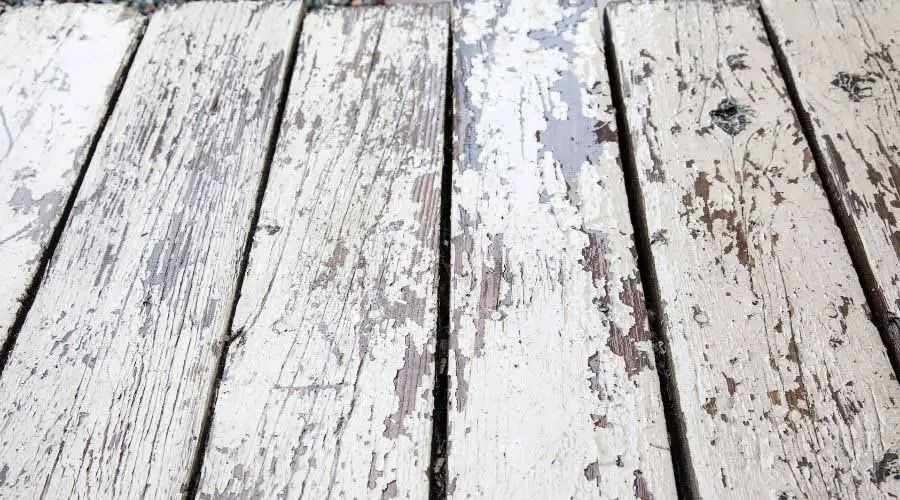
2. Paint Scraping
Paint scraping is the most manual method of paint removal. If the paint is severely weathered and chipped, it could simply shave away the old coating with a sharp metal paint scraper.
Paint scrapers are available in sizes from ¾” up to 4″, and joint knives can even utilize for sizes beyond that. When selecting a blade size, do not forget to look around the working surface area and purchase one small enough to fit in minor areas. Most hardware stores sell multipacks containing multiple sizes available for purchase.
If the older paint is not heavily worn, it may be necessary to use additional materials to ease the removal. Using a heat gun is one option to assist in this venture. The heat gun will warm and soften the paint material, making it easier to scrape away.
To utilize a heat gun without causing damage to the surface, keep the temperature below 200 degrees Fahrenheit and do not hold the gun in one spot for long.
Another way is applying a natural paint stripper, such as vinegar, mineral spirits, or a warm baking soda/water mixture. Letting these mixtures sit on the wood for 15 minutes softens the bonds between the old paint and the surface, allowing easier removal.
Pro tip: Another scraping tool to promote further peeling is using a plastic bristle brush by making vigorous sweeping motions across the surface.
Since this method includes lots of elbow grease, you should select it for projects that consist of a smaller surface or where the old paint is in a very worn and peeling state.
3. Pressure Washing
Pressure washing is very efficient in terms of time and tools required and reduces the number of back cramps and chemicals involved for safety purposes.
Pressure washers are available to rent by the day at most home improvement stores, reducing the cost for this preparation project.
The pressure washer needs to reach 2,000 to 4,000 PSI pressures to remove paint from wood. Exceeding this range can damage the wood.
The higher the pressure, the higher the force, and since this is supposed to be a one-step method, high pressure is required to break the bonds of material and remove paint from the surface.
For safety purposes, wearing safety glasses and closed-toe shoes is endorsed. If the old coat could be lead-based, wearing a mask is necessary to avoid any inhalation.
Before beginning, clear the project area of any items that the pressure washer or hose could get stuck on. After filling both the water tank and gas tank, if it is not electrically powered, connect what should be a yellow nozzle to the spray wand.
The yellow nozzle is a 15-degree angled nozzle that is best at removing the paint without causing damage. Hold the spray gun 1-2 feet away from the surface and perform wide back and forth motions when spraying. Since this will be a wood surface, be sure to sprinkle along the grain.
For attached decks, consider working away from the house to remove paint for attached decks instead of gathering gunk along walls and doorways.
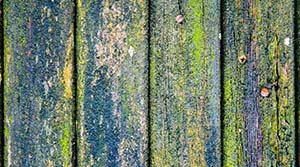
Pro tip: Mix white vinegar with the water supply to further clean the surface of the mold, mildew, and spores.
When the pressure washing is complete, let the surface dry completely before proceeding with another step in the renovation process. If any areas are unsatisfactory, perform another pressure washing or light sanding round.
Pressure washing is the least labor-intensive method and can significantly reduce the time spent on paint preparation. It is an excellent option for larger areas or renovators limited in their range of motion.
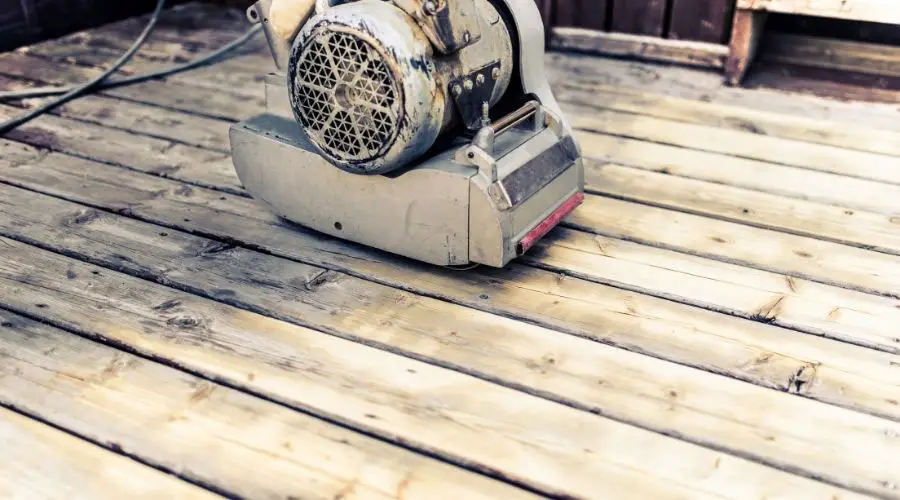
4. Sanding
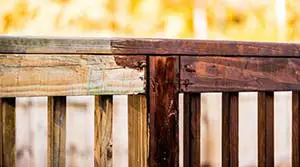
Sanding is a manual process but can be automated with various tools and significantly reduce labor time. When it comes to deck renovation, sanding is an excellent option if the deck wood is splitting or has become rough over time. Sanding can be performed by hand, with an electric sander, or an electric grinder.
Manual Sanding
Manual sanding is known for causing hand cramps and uneven finishes. However, manual sanding allows more control to reach nooks, crannies, and crevasses.
Performing this task by hand consists of using a sheet of sandpaper or a sanding block and simply rubbing back and forth using the friction from the grit to remove the surface.
This method is not suggested for deck paint removal unless areas are hard to sand with a larger tool. Since you would not use this sanding on the larger plank surface, use 80-100 grit for railings and detailed areas for a smoother finish.
Electric Sanders
Electric sanders are a standard household tool that works in almost all wood refinishing projects. The good thing about electric sanding is the range in size and shape of the sander face.
From 3″ orbital (circular sanding pad), 6″ mouse detail (triangular) to a 12×18″ floor sander (rectangular/square), there is a size and shape for every project.
These are also options to consider when deciding whether to rent or buy. It may be a better idea to purchase one that can get the job done both on the deck and on future projects.
For larger decks, sanding with a floor sander is the least time-consuming and the best option for grinding. These are available for rent at most home improvement stores.
Start with 80-grit sandpaper to do the heavy-duty work, move to a 150-grit, and wrap up the job with 220-grit paper for a smooth finish.
Pro Tip: Use a drum sander with a drill bit attachment to go along fine edges or grooves if needed.
Electric Grinder
Attachments for electric grinders are the newest solution for paint removal on decks and patios. A few name brands in the market specialize in manufacturing these attachments. They are typically circular-based plates that are attached to the grinder and rotate.
On the circular plate, there are metal blades with textured surfaces that stick out at an angle. The attachments are compatible with most 4.5″ angle grinders with 5/8″ to 1″ thread. Using an angled grinder in this function is similar to standard electrical sanding.
However, the metal face of the tool is more potent and more abrasive. The strength and abrasion do not wear as quickly as sandpaper and will get the job done faster.
After selecting a sanding method that works best for the project, be sure to choose the correct sandpaper to remove the paint. The lower grit sandpaper is best for eliminating thick coats and coarse layers of material.
Move up to a higher grit paper to get the desired finish to avoid splintering and smooth the subsequent coating layer.
Do not forget that safety still pertains to sanding. The high rate of rubbing and rotation kicks dust up into the air and can quickly get into the eyes, be inhaled, or even ingested. We recommend goggles, safety glasses, and masks as protective wear when sanding.
Sanding is the most common recommendation for removing paint due to the wide range of options, repurposing supplies, and reducing the time of the project.
Conclusion
There are many ways to remove peeling paint from a deck. To choose the best option for any given project, sit back and think about the size of the project, the desired time allotted to this project, the tools required, and the financial investment of the supplies!
Sources