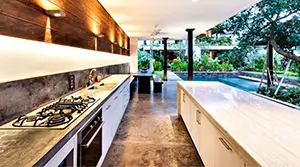
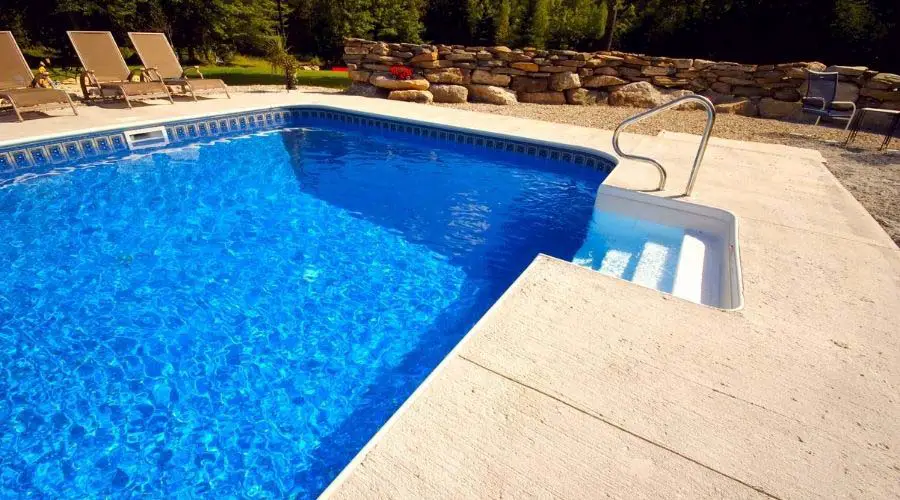
Summer is here, and it is time to hang out around the pool with friends. But, your BBQs and back-flip contests can get ruined by a poorly maintained or unattractive pool deck, so we will talk about getting it into top shape.
To prepare and paint your deck, make sure to follow these steps and helpful tips:
- Remove all old paint & coatings from the pool deck
- Power wash the pool deck to clean off old paint
- Scrape & sand to remove stubborn old paint, coatings, or mold
- Use cleaners to finish prepping the surfaces for best results
- Fill cracks with caulk to make the deck look new again
- Use concrete patch to fix large holes or issues
- Blow off all dust & debris to ensure paint adhesion
- Purchase the right paint & additives
- Apply primer to ensure an even final appearance
- Cut in complex areas with a smaller brush
- Use a large roller to cover the large areas
In this article, we will go through each one of these steps in more detail, providing tips for each step along the way.
These tips will make the task less daunting and help you make the best decisions and avoid pitfalls, so you can get the proper materials and knowledge you need.
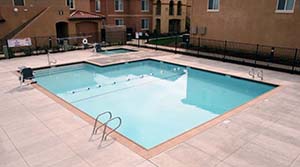
How Do you Paint a Concrete Pool Deck?
Painting a concrete pool deck requires a long process to do it. You’ll need to fix then prep it before the actual painting starts.
Down below are 11 tips for prepping and painting a concrete pool deck.
1. Remove All Old Paint & Coatings from the Pool Deck
Before we can get to painting, we need to know how to prep the concrete around your pool. Take your time with this to ensure it finishes nicely.
Leaving any of the old paint on the concrete will compromise the new layers and reduce the lifespan of your painted pool deck.

2. Power Wash the Pool Deck to Clean off Old Paint
The quickest and easiest way to clear away old paint and get a clean concrete surface to work with is by using a power washer.
These hook up to your existing garden house and have an output pressure between 1,500 and 3,000 PSI. With such high pressure, it is possible to remove old coatings without chemicals.
When using the pressure washer, be sure to set it to spray in a small fan pattern rather than a stream. If the pressure is too concentrated, you may end up removing too much material and cutting into the concrete, leaving unattractive marks.
If the fan is too broad, it will not have enough cleaning force, not removing all the existing paint.
Spray back and forth in an overlapping pattern similar to how you would do if you were painting the surface, ensuring the process is even and complete. After it dries, you may want to go back over and redo any areas where necessary.
You should not worry too much about removing every last little stain or discoloration, as we will be doing another cleaning step.
It is even less vital if the final paint product is opaque. Your main goal at this stage is to get down to bare concrete so that the primer and paint products will adhere well.
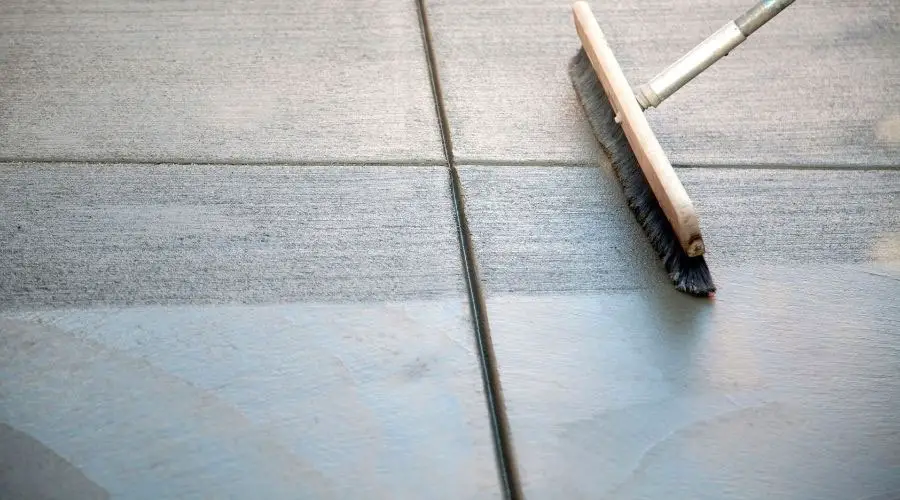
3. Scrape & Sand to Remove Stubborn Old Paint, Coatings, or Mold
The power washer should remove most old paint, dirt, mold, and other unwanted coatings.
However, you will also need to inspect the area and spot-clean any imperfections. You can do this in several ways, the most convenient being with a wire brush.
In many cases, you can get a nice clean concrete surface just from the power washer and some elbow grease with the wire brush.
However, depending on the types of paint and coating used previously (and the climate you are in), you may require a further cleaning step using solvents or chemicals.
Allow the area to dry, and assess whether you need to complete additional cleaning steps. Look for any coatings still on the concrete, as well as any black spots that could indicate mold growth.
If you think it looks clean enough, you can skip down to the repair step.
4. Use Cleaners to Finish Prepping the Surfaces for Best Results
If you live closer to the tropics or in a wet climate, you may have persistent mold and mildew that can be hard to remove.
In this case, you have several options to remove it using cleaners. One of the most common cleaners for concrete projects is trisodium phosphate or TSP.
However, this can be toxic to humans, pets, and gardens, so you need to use them with extreme care.
If using TSP, you will want to wear long sleeves, glasses, and a respirator.
According to the instructions, add the powder to water and then dissolve before adding to your sprayer. Next, apply evenly and let it sit to dry before power washing off.
If you want to avoid such toxic chemicals, you can use a product like Oxiclean (a mild form of bleach). You can usually find this in the laundry aisle of the grocery store.
However, you cannot add this to the power washer. Instead, it should be mixed with water and applied using a stiff-bristled brush.
You can make an even more practical solution by mixing the OxiClean with dish soap in a bucket of water.
Again, use a stiff-bristled brush to clean the pool deck and then wash it off with a power washer or garden house.
Be sure to remove all soap/beach residue and allow it to dry before proceeding to the next steps.
Repair Any Cracks or Other Issues with the Concrete
Now that you have cleaned the pool deck surfaces, it is time to make any necessary repairs and fix imperfections.
Being diligent at this stage will improve the outcome, so pay attention to details and take your time here.
5. Fill Cracks with Caulk to Make the Deck Look New Again
As cracks develop in the concrete, they will create areas for water to creep under your pool deck, which could compromise it further. It also leaves a place for weeds to grow or ants to take home, so we want to fill them all.
The easiest way to do this is to use caulking, either in a squeeze tube or a caulking gun. When purchasing caulk at the local hardware store, try to find a product labeled for concrete and masonry repairs such as those by Quickcrete and Locktite.
If there is an old, cracked, or constricted caulk already in the cracks, it is best to remove it rather than put a new caulk over it.
You can use a box knife or paint scraper to remove the old caulk and prepare a clean surface for the new caulk to adhere to.
Apply the new caulk into any cracks less than about ¼ inch wide and smooth using a gloved finger (these types of caulks are very sticky).
For larger cracks, stuff the correct size of foam backer rod into the crack or hole to support the caulk.
6. Use Concrete Patch to Fix Any Large Holes or Issues
If you have large holes, chips, or other issues with the concrete, you may need to use a more robust and permanent product to repair it.
You will want to use a premixed cement patch or similar product in these cases.
You should also check the bolts around any ladders, slides, or other structures attached to the concrete and make repairs as necessary.
Often loose bolts can be secured back to the concrete using a two-part epoxy.
Prepping the Pool Deck for Painting
Now that your pool deck has been cleaned, prepared, and given time to dry, you are ready to start the final preparation steps before painting it.
7. Blow Off all Dust & Debris to Ensure Paint Adhesion
The cleaning and repair process may have resulted in some dust or small debris left on the concrete, so you will want to remove it before painting. This time, use a leaf blower or air compressor to clean the surface while keeping it dry gently.
If needed, apply painting tape to protect areas like chrome ladders or fiberglass pool trim that you do not want to get painted. Ensure the tape is well adhered to the surface and laid straight for best results.
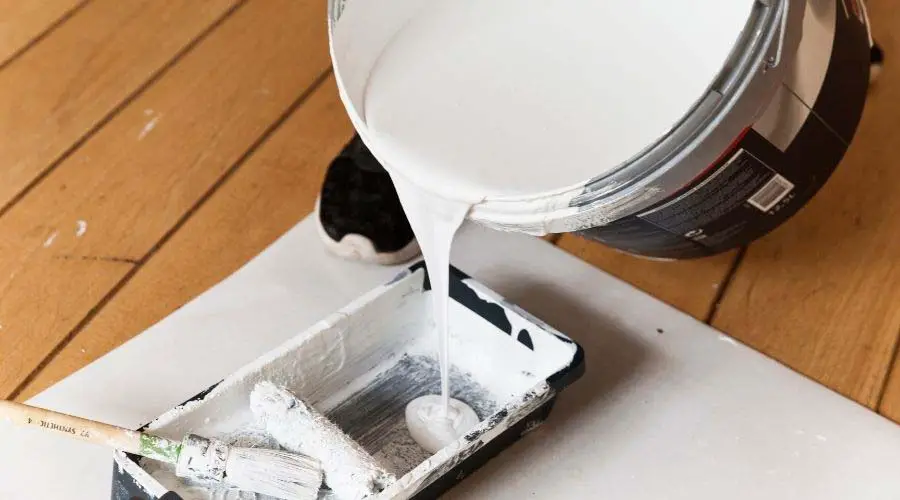
8. Purchase the Right Paint & Additives
For this job, you want to buy paint specifically formulated to be applied to clean concrete in outdoor, wet conditions.
You have multiple options, such as epoxy or acrylic-based colors and even rubberized ones for comfort. Look up recent product reviews or talk to the staff at your local paint or hardware store if you are unsure.
Below is a table that explains the types of pool deck paint and some points to consider as you plan your project.
| Paint Type | Attributes | Considerations |
|---|---|---|
| Epoxy-based paints | – Lasts 5-10 years – Creates a solid, tile-like finish – Scratch/stain resistant | – Difficult clean-up – Must use epoxy primer – Requires chemical precautions |
| Liquid Rubber Coating | – UV resistant – Does not absorb/transmit heat – Non-toxic | – Requires 3-4 layers |
| Latex Concrete Paint | – Economical – Easy to apply (2 coats) | – Replace every 1-3 Years |
| Self-priming Acrylic | – Easy clean-up – No primer step | – Replace every 1-3 Years |
Because it is a pool deck, you will want to keep some of the rough texture of the existing concrete or even add more texture using paint additives.
This texture will ensure a non-slip surface to help prevent any falls or injuries around the pool. One of the cheapest ways to do this is to add fine sand to the paint, stirring and adding more as needed.
You can also buy commercial products, such as Dyco’s Skid Gard, that you can add to paints before application.
To use, follow the recommended quantities, pour directly into the paint bucket, seal the lid, and then shake well. After the solution is mixed, you can apply it with typical paint.
9. Apply Primer to Ensure an Even Final Appearance
Some pool deck paints will be self-priming, but many others will require a layer of primer that you need to put down before applying the color.
The primer helps the paint adhere to the concrete, extending the life of the color while reducing flaking or chipping.
It also helps to ensure even color and finish by creating a uniform base layer to which the paint is applied, especially if you skipped cleaning with the chemicals step.
You may get better results by using KILZ Mold and Mildew Exterior Primer, or a similar product if mold is an issue in your area.
Use a small (4 inch) nap roller or paintbrush to first cut out all the corners around any structures or trim with primer.
Next, use a larger roller (9 inches) to fill the large areas, ensuring a thin, even coat over the entire surface. Allow it to dry according to the manufacturer’s instructions on the container before painting.
Paint & Seal the Surfaces
Now that you have removed all the old paint, cleaned and repaired the deck, and applied primer, you are ready to start painting. Painting is the most rewarding step and will let you see the fruits of all your meticulous labor.
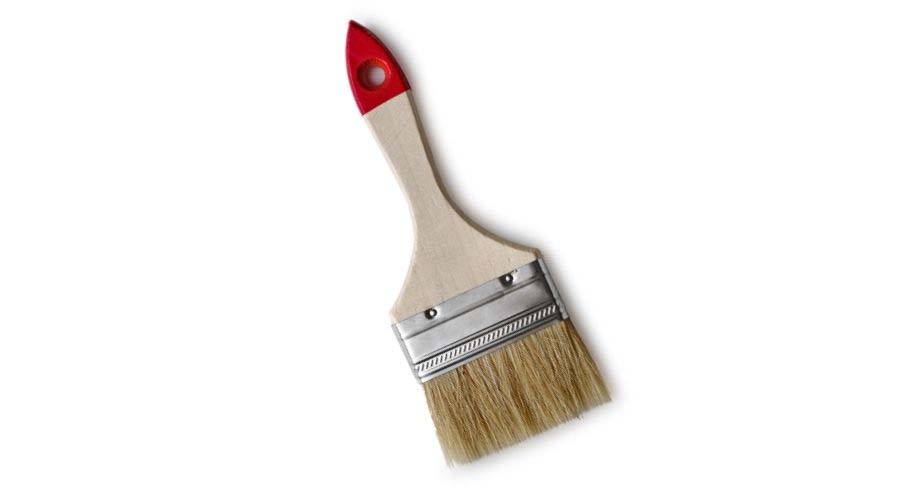
10. Cut in the Complex Areas With a Smaller Brush for Best Results
As with the primer step, you first want to cut on the small and complex areas using a brush or smaller roller (4 inches).
Use a paint roller with a medium nap (⅜ – ½ in., for smooth/semi-smooth surfaces) to provide good coverage without absorbing the texture added to the paint.
It is usually best to let this layer dry for an hour or two before beginning to paint the large areas of the pool deck.
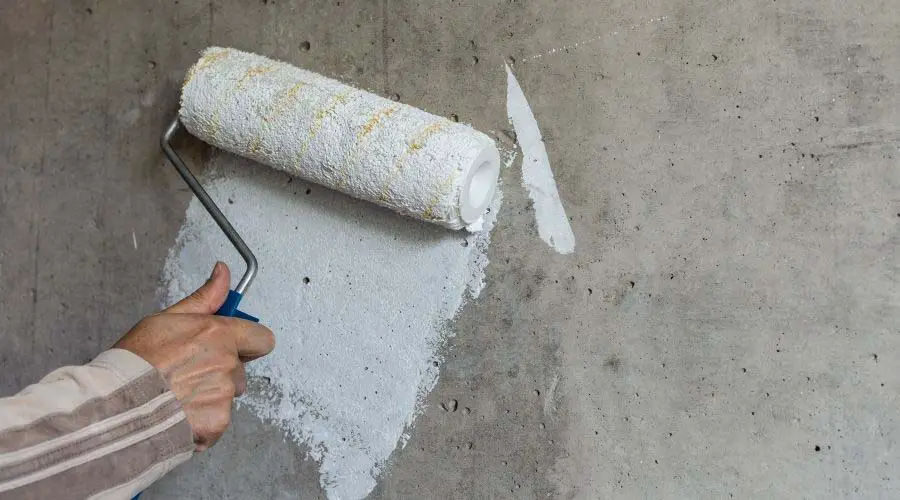
11. Use a Large Roller to Cover the Large Areas
Make the job easier on yourself by using a large (9-inch) nap roller and roller pan to apply paint to the rest of the pool deck.
Use the same nap size (⅜ – ½ in., for smooth/semi-smooth surfaces) as the primer and cutting steps to ensure uniform coverage and appearance.
Using a roller extension pole can reduce the strain on your body and make the work easier. Often these can be purchased to fit your existing paint roller or found around the house because many mops and brooms use the same tread pattern and size.
Start at one end of the pool deck, and apply thin, consistent, overlapping strokes of paint using the roller.
Don’t apply the paint too thick, or it will appear messy and not adhere properly to the concrete or primer. We recommend using multiple thin coats instead of one thick overcoat.
Check the paint manufacturer’s directions to know how long to wait before applying a second coat, if needed. Allow the final coat of paint to dry for at least 24 hours before walking on it or allowing it to get wet.
If you use epoxy-based or rubberized paint, there is generally no need to separate sealant. However, if you use acrylic- or latex-based paint, be sure to check the manufacturers’ guidelines.
Typically sealants can be sprayed on or applied in a thin layer with a roller.
If you have followed all these instructions and tips carefully and picked out a great color, you should now have a stunning pool deck. It is now ready for whatever nature or house parties can throw at it.
Sources